Showing posts with label applique. Show all posts

Monday, June 27, 2011

Pillows for the baby room.

I know that my nursery theme is elephants (as chosen by Lil D)...
but I wanted to make some ABC 123 pillows that will carry over when this little guy grows out of his nursery.
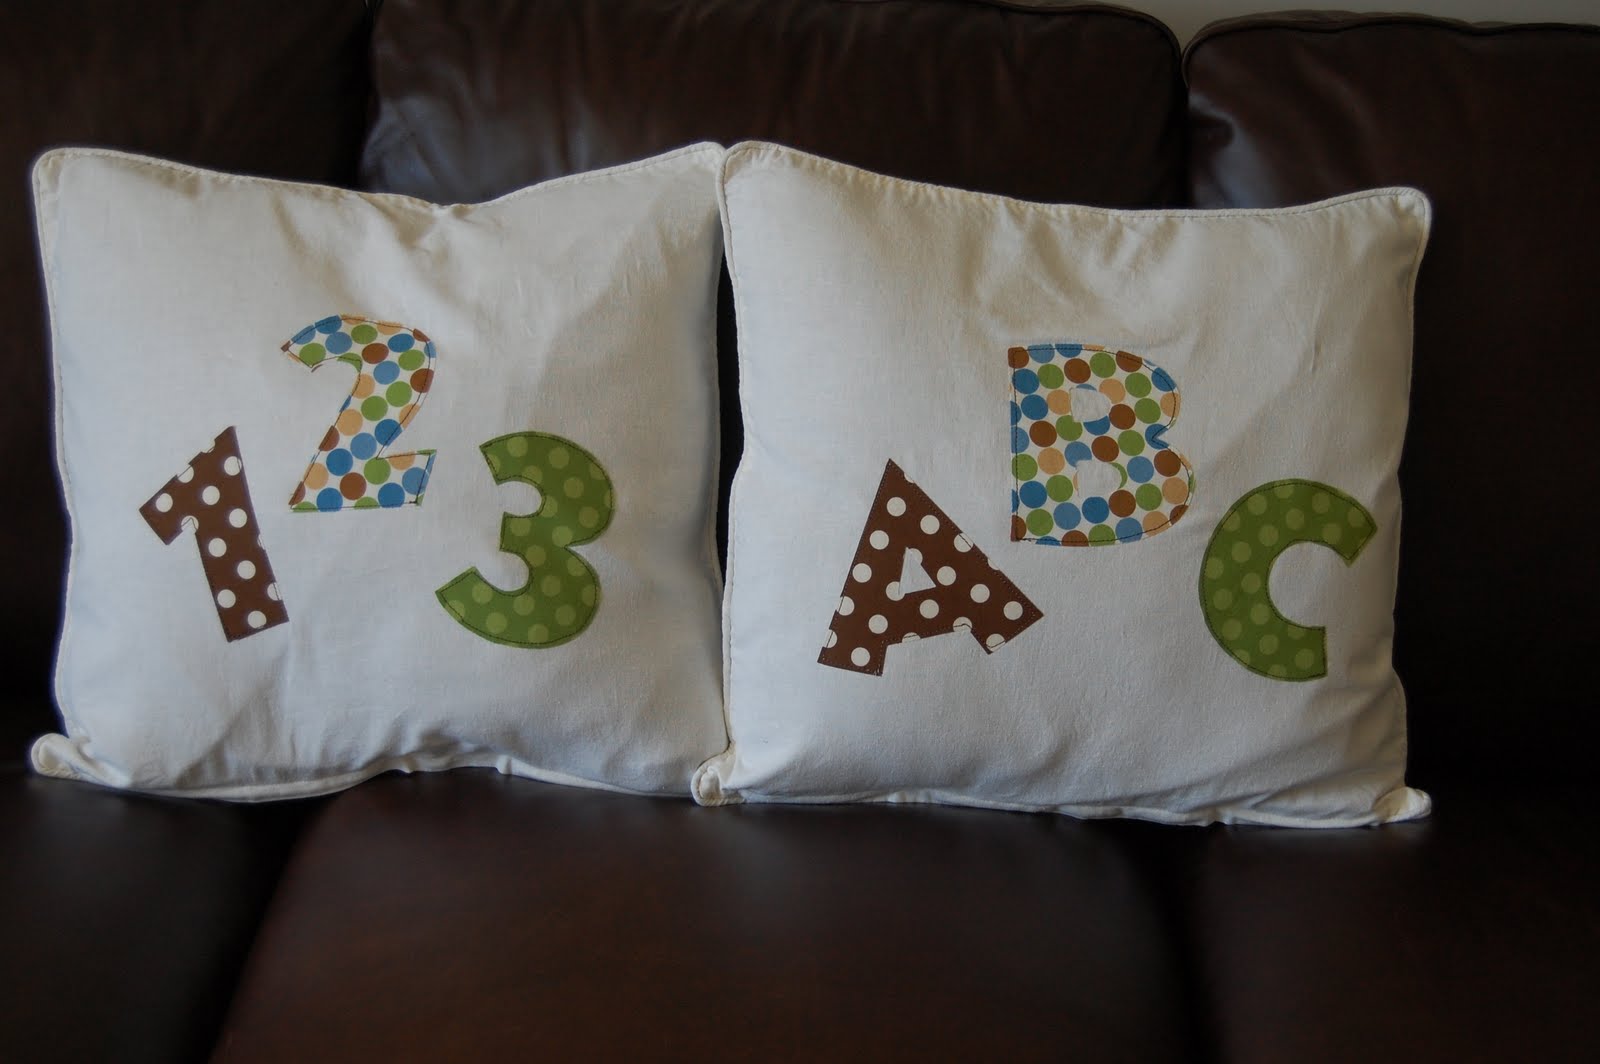

The pillow covers are from Ikea. An awesome trick my cousin taught me. Buy the Ikea pillow covers for very cheap, and then add anything that you want to them.
That is my kind of sewing.


As I do with most of my projects like this, I adhered the fabric to ultra heat n bond then cut out the letters with my cricut. These letters are from the Mickey Mouse cartridge. Then I iron them on and stitch around the outsides to secure them.

Only a few more projects and this baby room will be ready for a baby.

Wednesday, December 8, 2010

Homemade Christmas Gifts #1

This is a formal announcement to any of my family members...
If you want to be surprised on Christmas,
avoid any blog posts entitled "Homemade Christmas Gifts".

********

A friend of mine got this Cricut cartridge from her mom...
it was so cute I had to figure out a way to use it.


I decided that these little monsters would be super cute on shirts...so I did the same thing as I did here and here and came up with these...


After ironing the fabric to heat n bond, I cut the pieces out on a cricut expression, then ironed them to the shirts. To ensure those cute little monsters don't go anywhere, I stitched around the outside...I had to handstitch the onsie monster because I was afraid I would kill it with my machine. I added googly eyes with some sewing glue (that ensures me they won't fall off in the wash...I guess we will see).

For the little girl I made a matching hair bow (which I'll show in another post) and
for the boys, I got "monster" trucks and some monster blocks.
Can you do a monster theme at Christmas...sure, why not right?!

Monday, October 18, 2010

Boo!


The color of the month at Lil D's school is orange. The Tuesday before Halloween they are supposed to where orange to school. Since they aren't dressing up in their costumes for school, I thought he might need a Halloween shirt to wear. I have the paper doll dress up cartridge (for the cricut) and they have some seriously cute Halloween things. I just loved this skeleton!

I ironed my fabric to some heat n bond. This allows it to be stiff enough to be cut smoothly on the cricut.

Then I ironed them on...so easy, right?!
I made one for my nephew as well!


...how 'bout a little skull for the back...


I decided that my 2 sweet little nieces
(that just moved across the freakin' country from CA to GA...boo hiss)
needed some cute little shirts as well!

I did the same thing...but cut out ghosts instead.


Love them!


I bought all the shirts at Walmart. The kid shirts were $4 and $5 dollars and the onesie was $3. I bought a couple of different Halloween fat quarters for 1/2 off and have tons left. One of them even glows in the dark...gotta figure out a great way to use that one. It was such an easy and quick project...now I've gotta find a cute Turkey day thing:)


I'm linkin to:

Someday Crafts...whatever wednesday


Sunday, March 28, 2010

Birthday Boy shirt...

I posted some of Lil D's birthday decor and a Mickey shirt here. Today I finished his Birthday shirt...I hope he loves it:)

I bought a white t-shirt at Walmart for $3, and the fabric at Joanns.


I used the same process to make this shirt as I did with his Mickey Mouse birthday shirt.
I cut out the three with my cricut (disney cartridge) and after ironing it on, I did a satin stitch around the entire thing.


I cut out the letters with the same cartridge, ironed them on and then did a straight stitch to finish them off.


I love the colors (Lil D's favorite color is green)...If I were to do it again, I would lay it out differently so you could see the 3 a little better...but I do love it!


Now Lil D has a shirt for his actual birthday and a shirt for party day!


I'm linkin' to


Related Posts with Thumbnails